


How to Terminate Fiber Optic Cable: A Step-by-Step Guide



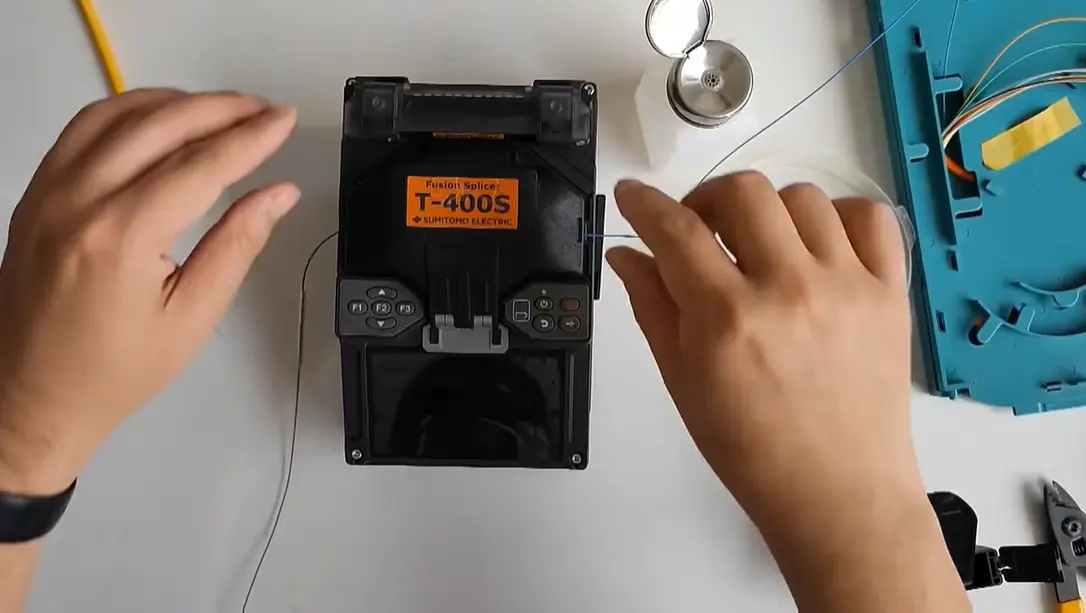
Termination of fiber optic cable involves attaching an optical fiber to an interface that allows linking it with network equipment. Termination ensures signal quality, minimizes insertion loss, and increases performance in fiber optic network.
It depends on the cable type, connector, installation environment and available tools. Most professionals prefer choosing either fusion splicing with the factory-terminated pigtail, field-installable connectors, and pre-polished mechanical connectors for most of their professional works.
What is Fiber Optic Cable Termination?
Fiber optic cable termination means preparation of the end of the fiber for attachment to the network equipment or a patch panel, distribution box or another cable. Unlike termination of a copper cable, termination of fiber optic cable should preserve the light path through the fiber core.
Two main methods of terminating optical fiber are:
- Connector termination. It involves attaching a connector (e.g., SC, LC, or ST connectors) to the end of the fiber for the possibility to make a detachable connection.
- Fusion splicing. Involves joining the prepared fiber with another fiber, usually with the factory-terminated pigtail that provides a connector interface.
For example, in the FTTH deployment, the technician might perform the fusion splicing of the distribution cable and optical fiber pigtail inside the fiber distribution box. Then, he connects the connector of the pigtail to the PLC splitter, patch panel, or other optical interface.
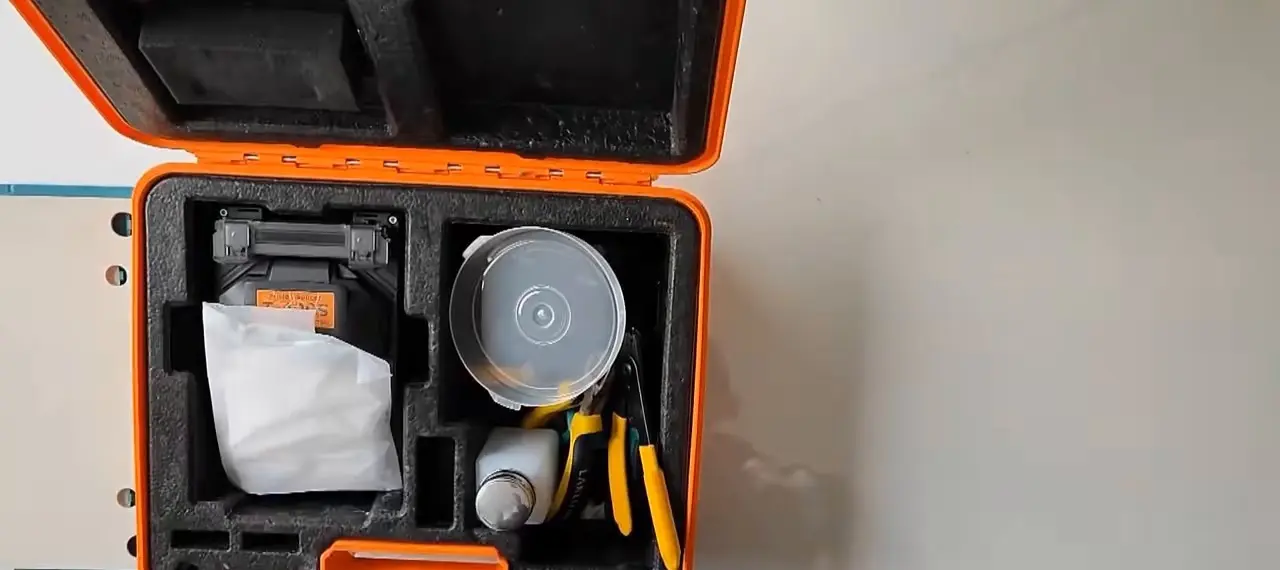
Tools and Materials Needed
Collect the necessary tools and materials before performing the work.
- Fiber optic cable and connectors or pigtails
- Fiber optic stripper
- Precision fiber cleaver
- Fiber optic cleaning wipes and cleaning solution
- Fusion splicer and splice protection sleeves (when performing fusion splicing)
- Connector installation tools (when required by the connector)
- Fiber inspection microscope or video inspection probe
- Optical power meter and light source or optical time-domain reflectometer (when appropriate);
- Safety glasses and fiber scrap disposal container
Compatibility of components is important. It includes types of connectors, fiber modes, core sizes and polish specification.
How to Terminate Fiber Optic Cable Step by Step
Step 1: Determine the Cable and Connector Type
First, you need to determine whether the cable contains single-mode or multimode fiber and its construction. Indoor distribution cables, outdoor cables, and drop cables may have different procedures of preparation.
Then, choose the compatible connector. Types of the connectors may be:
- LC connectors. These connectors are popular in switches, transceivers, and high-density patch panels.
- SC connectors. Push-pull connectors that are commonly used in telecom and FTTH networks.
- ST connectors. Bayonet-style connectors that are popular in some legacy infrastructures.
- FC connectors. They are threaded connectors and are used in some telecom and test environments.
It is important to match the type and polish of the fiber with the mating interface. For example, UPC and APC connectors should not be mated together, as they have different geometries.
Step 2: Prepare the Fiber Optic Cable
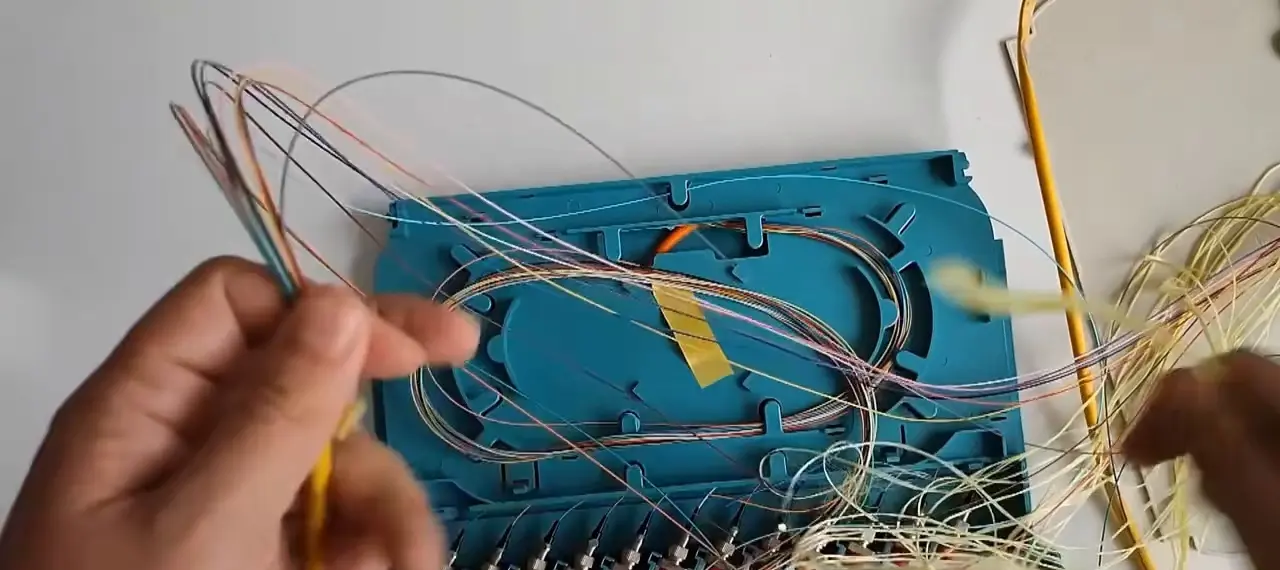
Strip the required length of the cable jacket with the help of an appropriate tool. If there are some strength members, aramid yarn, buffer tubes, or additional protective layers in the cable, prepare them as prescribed by the manufacturer.
Be careful to expose the fiber without bending, scratching, or pulling of it too much. As this might lead to increase in the attenuation or the early failure of the fiber.
Maintain a clean workplace and organize the exposed fibers to avoid tangling. In the case of outdoor cable, pay attention that the termination enclosure provides enough environmental sealing and strain relief.
Step 3: Strip and Clean the Fiber
Use a precision fiber optic stripper to strip off the appropriate length of the fiber coating. Do not apply too much pressure, as it might lead to the weakening of the fiber.
Clean the exposed glass fiber with the approved lint-free wipes and cleaning solution. Dust, oil, or the coating residues might interfere with termination of the fiber.
Never touch the cleaned bare fiber with your fingers. Prepare the length of the fiber that is required by the connector or splicing equipment.
Step 4: Cleave the Fiber
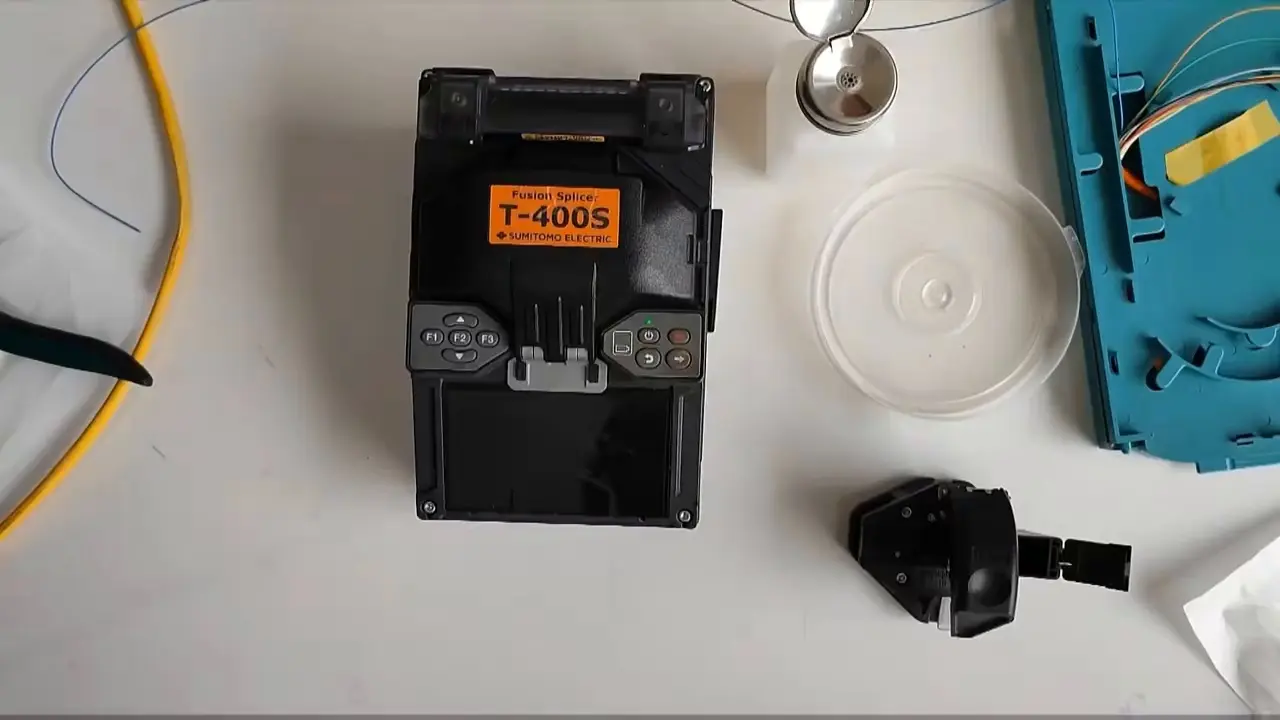
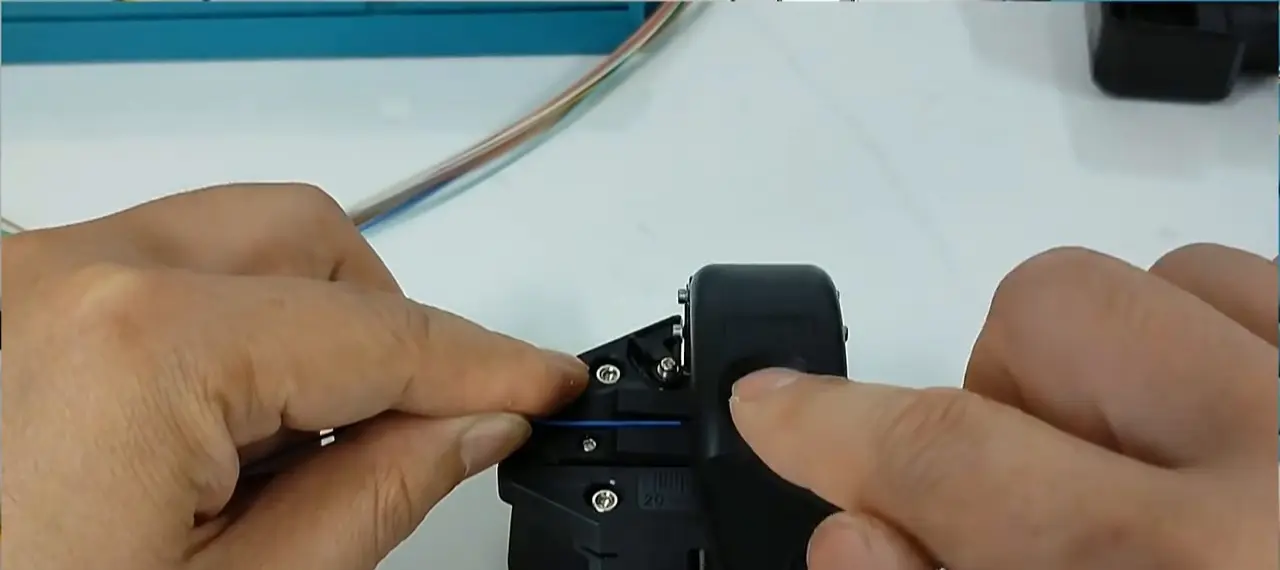
With the help of a precision fiber cleaver, make the clean and flat end face of the fiber. A good cleave is critical for both the installation of the connector and the fusion splicing.
In case of fusion splicing, poor cleave prevents proper alignment of the fibers and increases the splice loss. During the connector termination, the preparation of the end face of the fiber may differ depending on the technology of the connector (factory-polished, pre-polished, or field-polished).
Check the cleaved fiber if the procedure calls for it. If the end face is damaged or contaminated, re-prepare the fiber instead of using it.
Step 5: Install the Connector or Perform Fusion Splice
Depending on the termination method that was chosen, you will perform one of the following procedures.
Method A: Install the Field-Installable Connector
According to the connector manufacturer instructions, install the prepared fiber into the connector. There are connectors that use the adhesive and polishing, as well as mechanical and pre-polished mechanical connectors that use the mechanical alignment of the fiber.
In the case of adhesive-style connector, you should allow the curing of the adhesive as prescribed by the manufacturer. In the case of the pre-polished mechanical connectors, insert the fiber to the right position and fix it with the specified method.
If the field polishing of the end face is needed, perform it with the recommended polishing films and procedure, and then inspect the end face of the connector.
Method B: Perform Fusion Splice with the Factory-Terminated Pigtail
Fusion splicing is widely used in telecommunications and FTTH installations because of low losses in case of right performance.
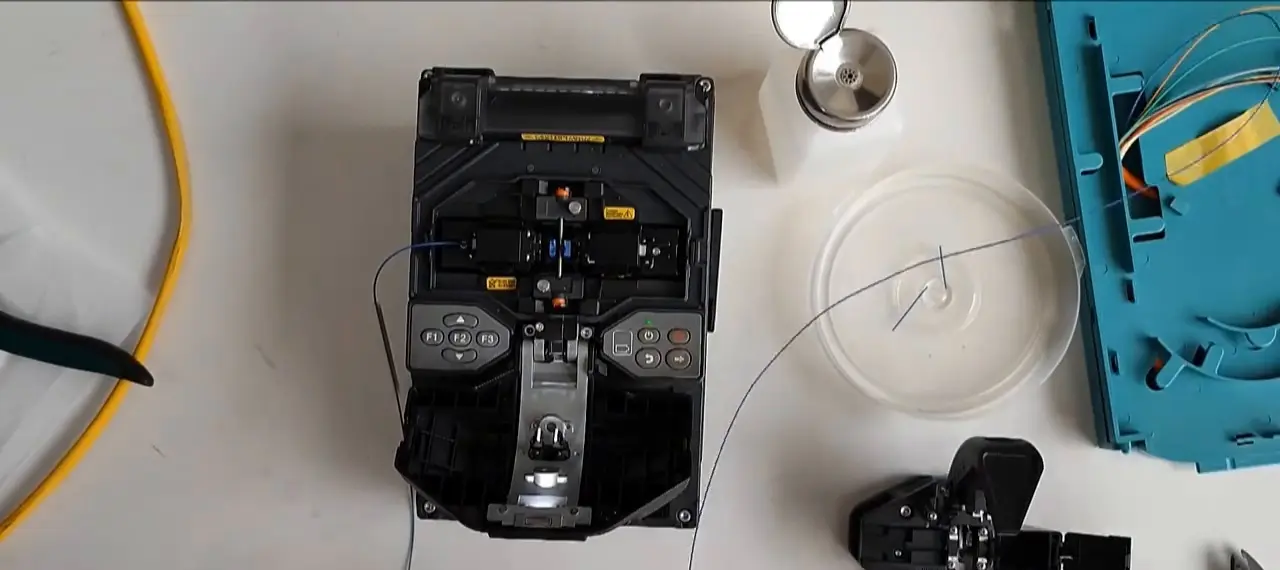
Steps of this procedure are the following:
- Prepare and cleave the field cable fiber and pigtail fiber.
- Insert both fibers into the fusion splicer’s holders.
- Allow the machine to align the fibers and make a splice.
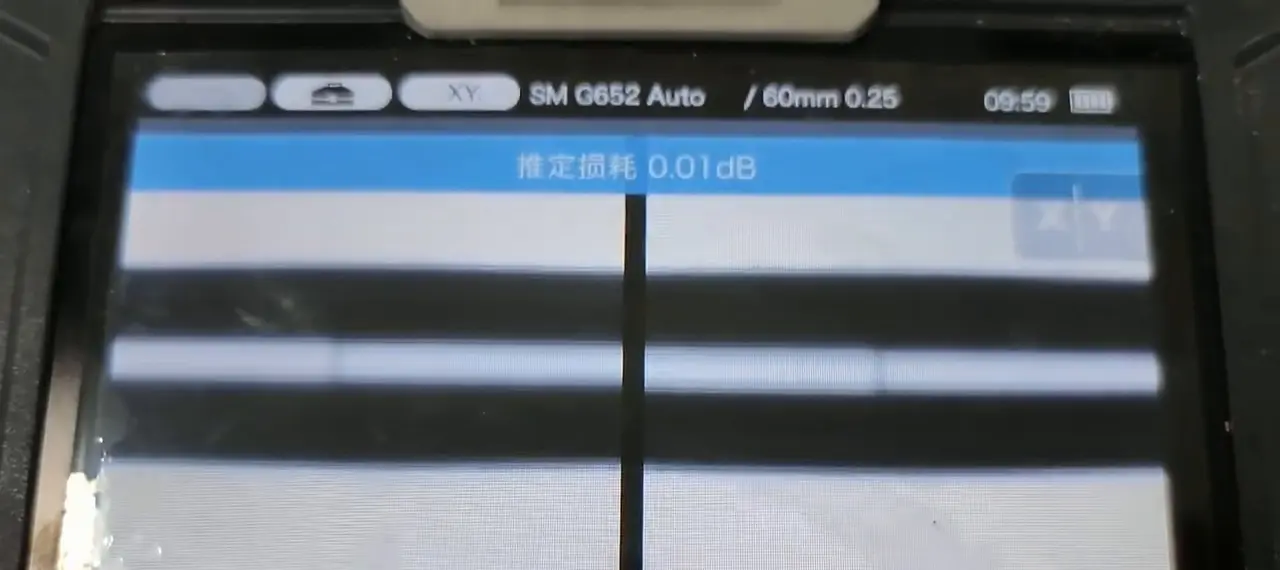
- Check the estimated loss provided by the machine.
- Put the splice protection sleeve over the joint and heat it according to the manufacturer’s instruction.
- Place the splice into the dedicated splice tray.
Factory-attached connector of the pigtail provides a detachable interface. This procedure is particularly convenient in the fiber distribution boxes, optical distribution frames and telecom cabinets.
Step 6: Inspect and Test the Termination
Visual inspection and testing of performance are critical before accepting the terminated fiber.
In case of connectorized fibers, you need to inspect the end face of the connector with the help of the appropriate fiber inspection probe and follow the applicable inspection criteria. You need to clean and inspect the end face again in case of contamination.
For a completed link, measure the insertion loss with the optical light source and power meter, when appropriate. OTDR can help to locate the splice events, connector reflections, and other faults along the link.
Although the estimation provided by the fusion splicer is useful in the process control, it cannot substitute the end-to-end testing of the link in case it is required by the project.
Write down the results against the specifications of the project and applicable standards. In case the measured loss exceeds the acceptable limit, investigate connector contamination, poor splice, excessive bending, or any other installation problem.
Important safety note: Never look directly into a fiber optic connector or cable end, as it may contain invisible laser radiation. Fiber fragments are sharp and should be collected in the designated disposal container.
Common Problems with Fiber Optic Termination and Solutions
| Problem | Possible cause | Recommended action |
|---|---|---|
| High insertion loss | Poor cleave, misalignment, contamination, or excessive bending | Reinspect the end face, check the splice, and verify cable routing |
| High connector reflectance | Incorrect polish, damaged end face, or poor connector installation | Verify connector type and inspect the end face |
| Intermittent connection | Loose connector, damaged fiber, or inadequate strain relief | Secure the connection and inspect the cable |
| Repeated splice failure | Poor preparation, incorrect settings, or incompatible fibers | Check cleaving quality, splicer settings, and fiber specifications |
| Unstable test results | Dirty connectors, inconsistent connections, or incorrect test setup | Clean and inspect connectors, then repeat the test |
How to Choose the Correct Termination Method of Fiber Optic Cable?
Best method depends on the scale of installation, required performance, experience of the technician and maintenance requirements.
| Method | Main advantages | Best suited for |
|---|---|---|
| Fusion splicing with pigtails | Low splice loss when properly executed; reliable permanent joint | Telecom cabinets, FTTH distribution boxes, and backbone installations |
| Field-installable connectors | Flexible installation without a separate fusion splice in some designs | Field repairs and installations where fusion splicing is impractical |
| Pre-polished mechanical connectors | Faster installation with limited polishing requirements | Certain access-network and drop-cable applications |
| Factory-terminated patch cords | Consistent factory-controlled termination quality | Data centers, equipment interconnections, and patch panels |
Large-scale telecom installations are best performed with the fusion splicing and factory-terminated pigtails. In case of smaller installations and repair, the compatible field-installable connector would take less time to install. In some cases, pre-terminated patch cords would be more efficient because of their length and connector configuration.
Conclusion
Right termination of fiber optic cable requires the appropriate preparation of cable, accurate cleaving, compatible connectors, clean end faces and testing of performance. Depending on the choice of field-installable connector or fusion splicing with the pigtail, following manufacturer’s procedures and testing would minimize the insertion loss and prevent the faults of the network.
Choosing suitable fiber optic cables, patch cords, pigtails, PLC splitters and termination accessories is as important for telecom operators, contractors and network equipment integrators as building a reliable optical distribution network.
 Hot Article

Founded in 2002, Huijue Networks is a high-tech service manufacturer integrating intelligent network communication equipment and an integrated application of computer intelligent network communication systems.
Set a Consultation Today